> ## Documentation Index
> Fetch the complete documentation index at: https://docs.getprimo.com/llms.txt
> Use this file to discover all available pages before exploring further.
# Set up licence provisioning
> Set up provisioning to automate user account creation and updates in applications like Zendesk, ensuring employees have appropriate access roles based on defined rules without manual management.
Provisioning ensures that user accounts are automatically created and updated in connected applications according to the rules you define. By configuring provisioning, you can assign specific applications and roles to targeted groups of employees.
This article explains how to set up provisioning using Rules.
## Access rules
1. In the Primo console, go to **Identities & access**.
2. Select **Rules**.
3. Either **update an existing rule** or **create a new one** to manage provisioning rules.
## Create new rules (optional)
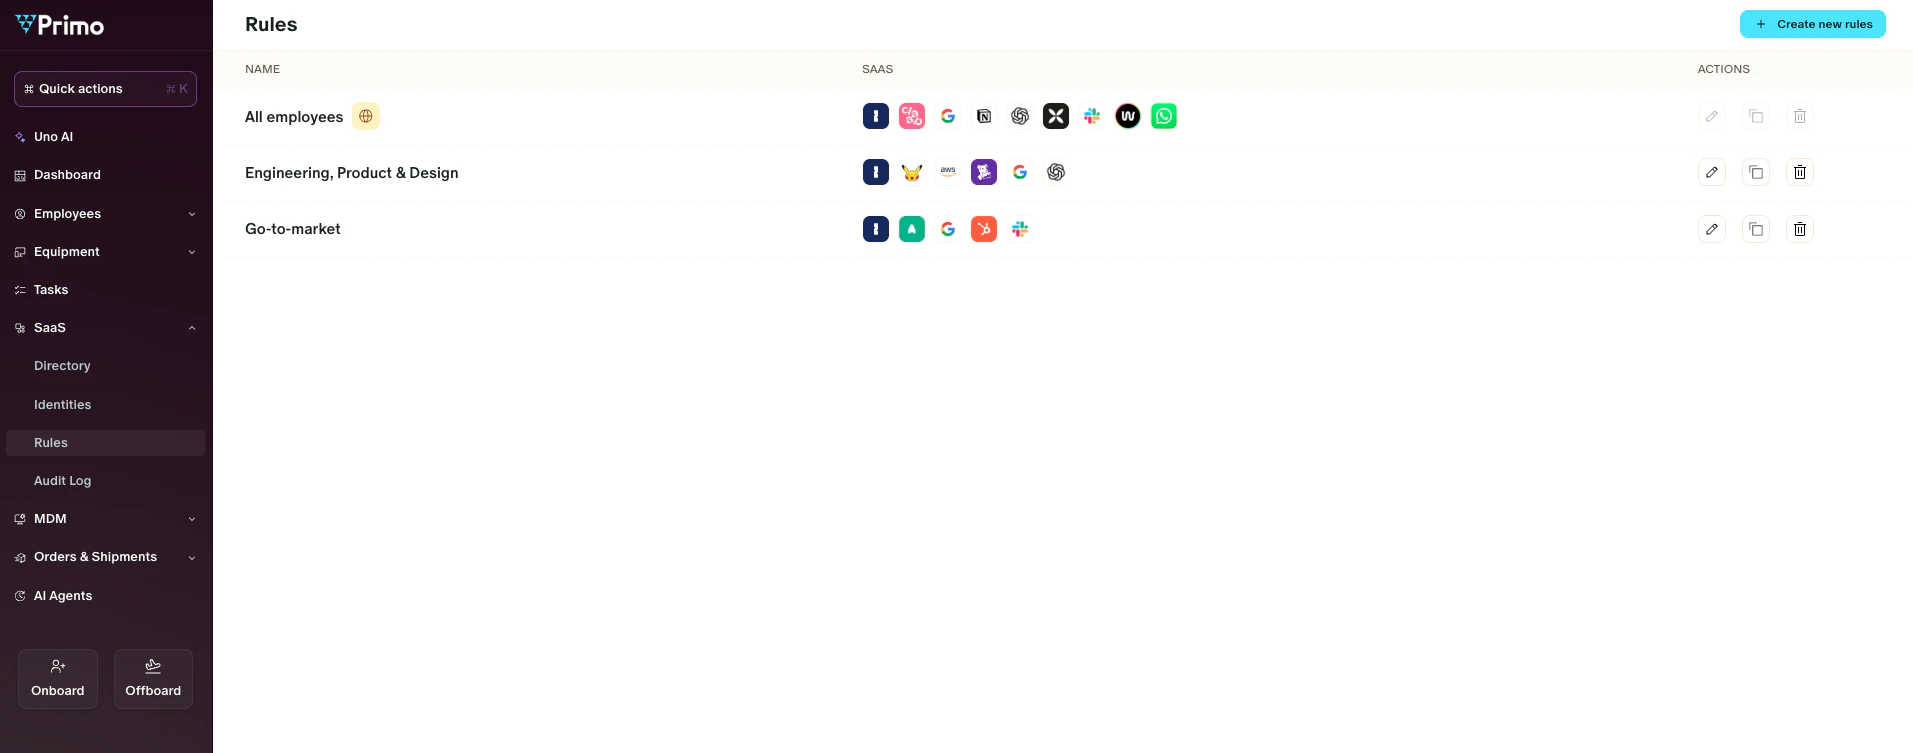 If you need to target a new group of employees, create a dedicated rule:
1. Click **Create a new rule**.
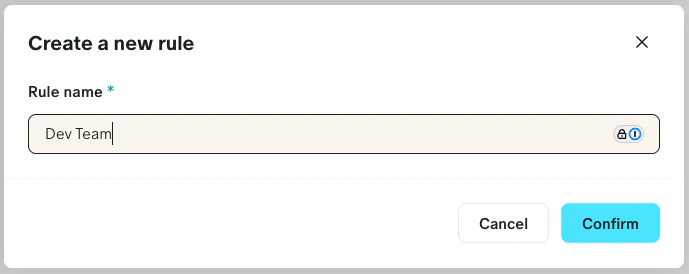
2. Enter a name for the rule (e.g., *Dev Team*).
3. Define the targeting conditions under **Targeted employees** (for example: *Team is Development*).
4. Save your rule.
If you need to target a new group of employees, create a dedicated rule:
1. Click **Create a new rule**.
2. Enter a name for the rule (e.g., *Dev Team*).
3. Define the targeting conditions under **Targeted employees** (for example: *Team is Development*).
4. Save your rule.
 ## Enable provisioning for an application
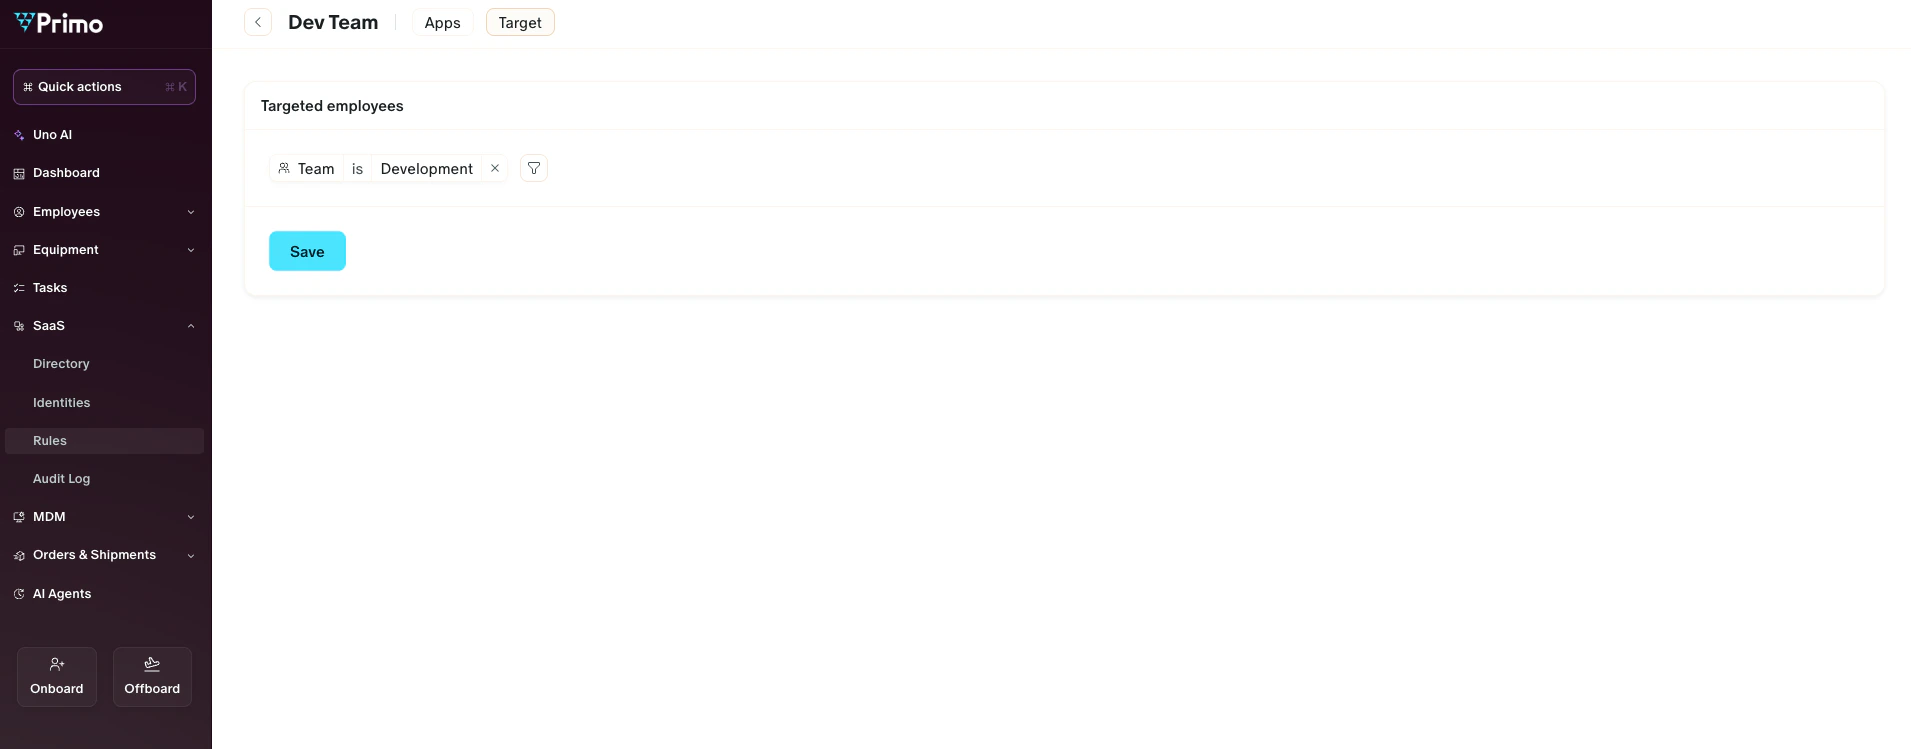 1. Open the rule you want to use.
2. Go to the **Apps** tab.
3. Select the application you have already connected (e.g., Zendesk).
4. Toggle **Provisioning** to enable it.
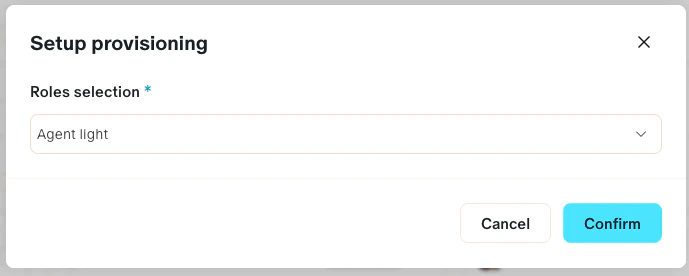
5. Under **Roles selection**, choose the role you want to assign to the targeted employees.
For example, to assign the *Light agent* role in Zendesk to your development team:
* Create or edit the *Dev Team* rule.
* Define targeting: *Team is Development*.
* Select **Apps > Zendesk**.
* Enable **Provisioning** and assign the role *Light agent*.
1. Open the rule you want to use.
2. Go to the **Apps** tab.
3. Select the application you have already connected (e.g., Zendesk).
4. Toggle **Provisioning** to enable it.
5. Under **Roles selection**, choose the role you want to assign to the targeted employees.
For example, to assign the *Light agent* role in Zendesk to your development team:
* Create or edit the *Dev Team* rule.
* Define targeting: *Team is Development*.
* Select **Apps > Zendesk**.
* Enable **Provisioning** and assign the role *Light agent*.
 ## Result
Once provisioning is enabled and saved:
* Users matching the rule's targeting conditions are automatically created in the application if they are not already present.
* Assigned roles (e.g., Zendesk *Light agent*) are applied automatically.
* Any changes to users in the HR system will be synchronized with the application through Primo.
This ensures that employees always have the right level of access without manual account management.
## Result
Once provisioning is enabled and saved:
* Users matching the rule's targeting conditions are automatically created in the application if they are not already present.
* Assigned roles (e.g., Zendesk *Light agent*) are applied automatically.
* Any changes to users in the HR system will be synchronized with the application through Primo.
This ensures that employees always have the right level of access without manual account management.