- Primo is the tool your company uses to track, manage, and secure its devices.
- FleetDM is the Mobile Device Management (MDM) solution deployed by Primo.
Step 1: Access the Primo enrollment space
You can access the Primo enrollment space in two different ways.Option 1: Access the enrollment from the invitation email
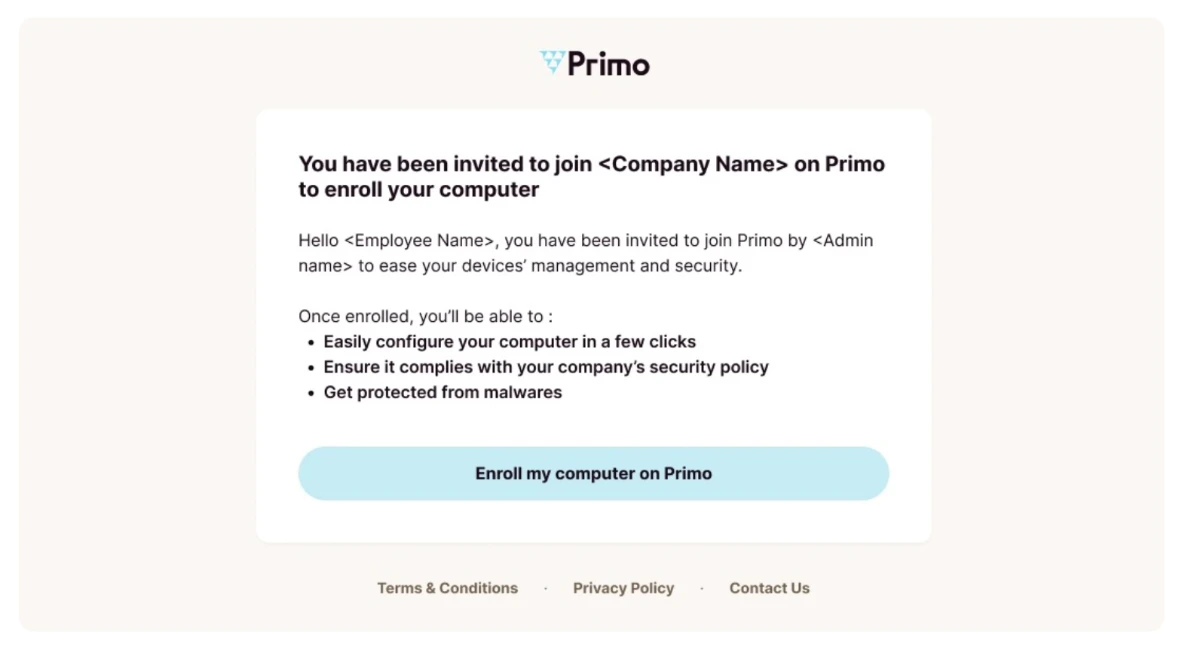
If you received an enrollment email titled “Invite to join <Company Name> on Primo”:- Open the enrollment email.
- Click Enroll my computer on Primo.
- You are redirected to the Primo enrollment web page.
Option 2: Access the enrollment from a direct link
If your administrator shared an enrollment link with you: open the link and you are directly redirected to the Primo enrollment web page.Step 2: Authenticate
Once on the Primo enrollment page:- Enter your professional email address (or your personal email address if you are new to the company).
- Enter the 6-digit verification code sent to your email address.
Step 3: Start the installation
- Choose one of the following options:
- If a device is already assigned to you, select it and click Enroll.
- If no device is assigned to you, click Deploy MDM on another device.
- Select your device OS (Windows, MacOS, Linux, iOS, Android) and download installer.
- Follow the installation instructions corresponding to your operating system.
Installation on macOS
-
Install the agent to your device
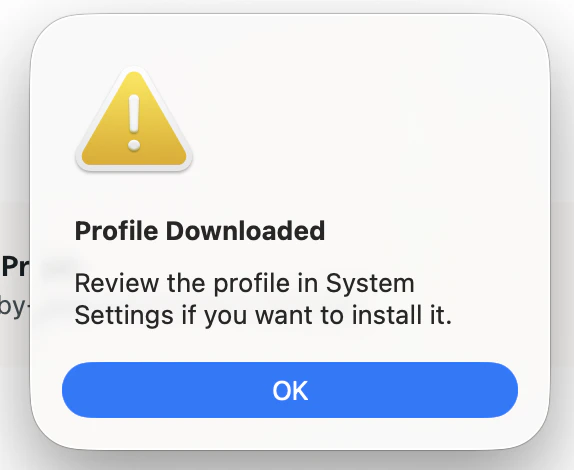
- Locate the file primo-enrollment.mobileconfig downloaded to your device
- Double-click the file. A system message confirms that the profile has been downloaded and must now be installed.
-
Install the profile to your device
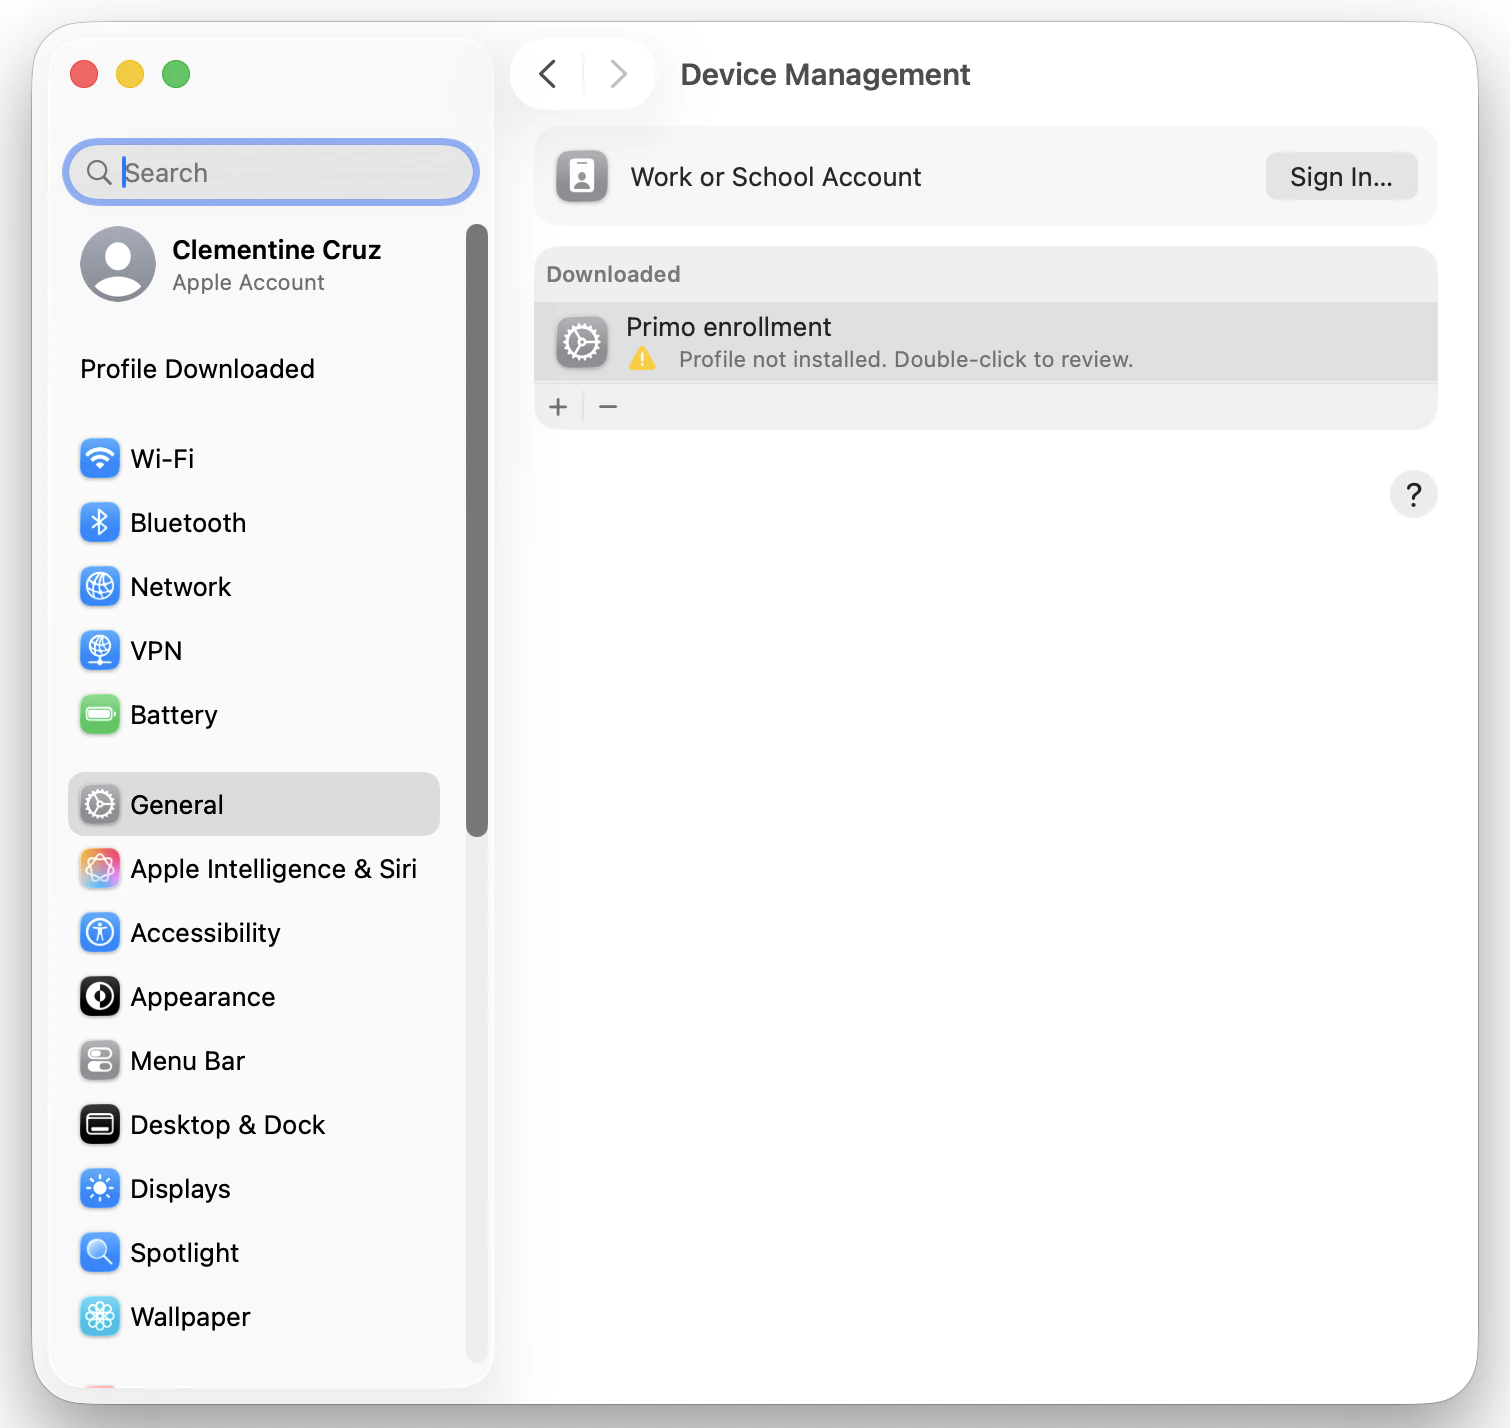
- Open System Settings and go to General > Device Management (You can also use the search field in System Settings and search for Device Management.)
-
Select the profile in the list and double-click on “<Your Company> Enrollment”

-
Click Enroll at the bottom left of the window.
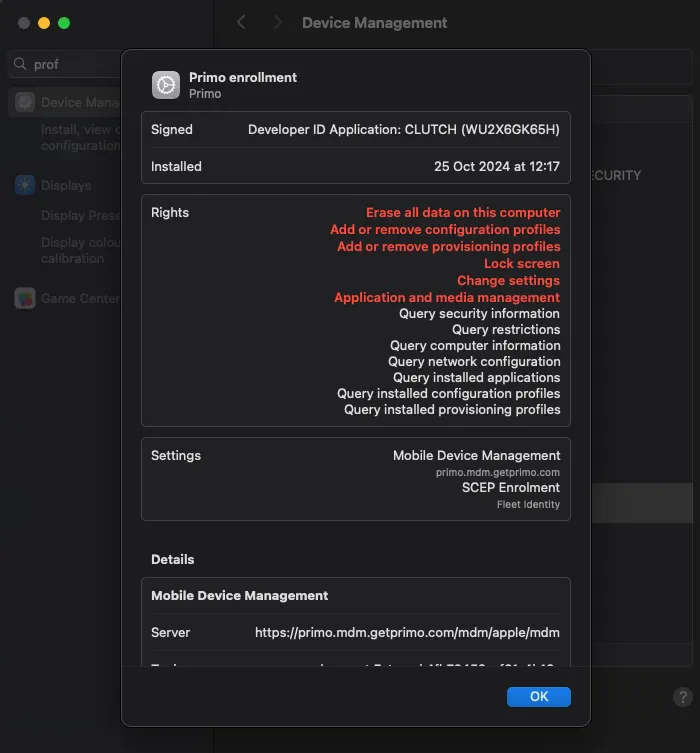
- Enter your administrator password to confirm the installation.
Installation on Windows
- Double-click on the “primo-enrollment.msi” file that has been downloaded
-
A Windows security window opens, continue by clicking on “Yes”
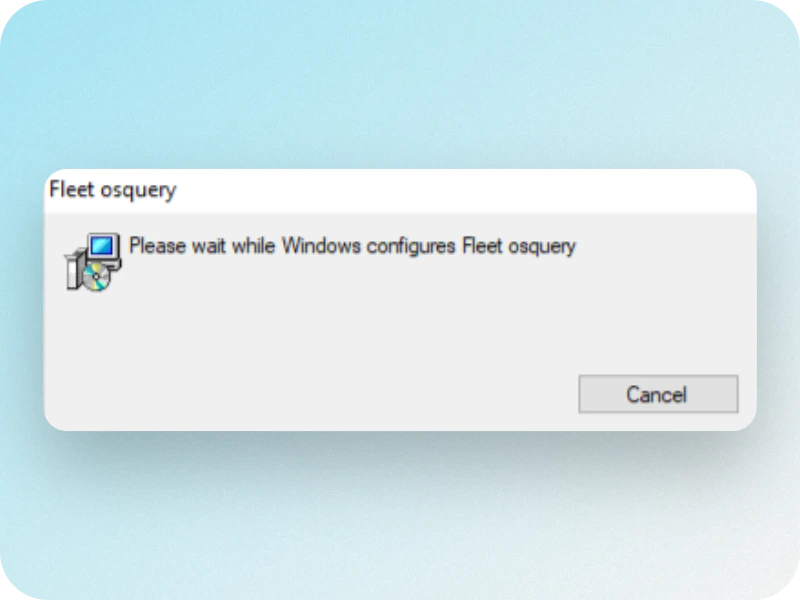
- The enrollment is complete. You will receive a confirmation email.
Installation on iOS
- Go to Settings > General > Device Management
- Select and install the profile MDM Primo
- Confirm the installation by entering your unlock code if prompted
Installation on Android
- Follow the Android enrollment steps
- When prompted for login credentials, enter your Primo login information
At Primo, protecting your data is our absolute priority. Find our Transparency Page for more information.