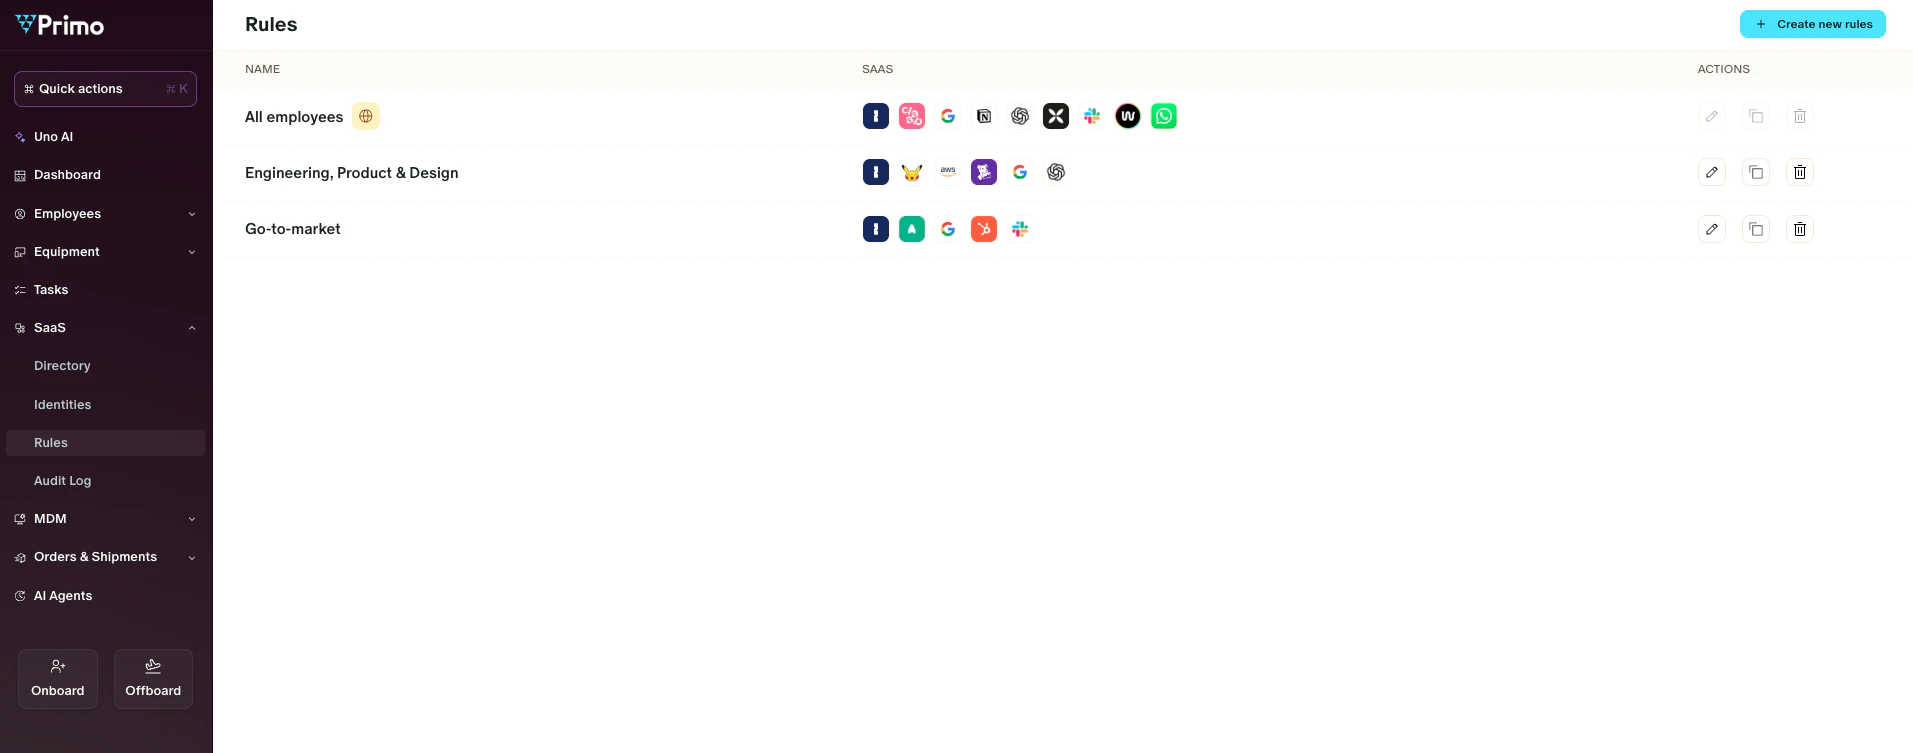
Access rules
- In the Primo console, go to Identities & access.
- Select Rules.
- Either update an existing rule or create a new one to manage provisioning rules.
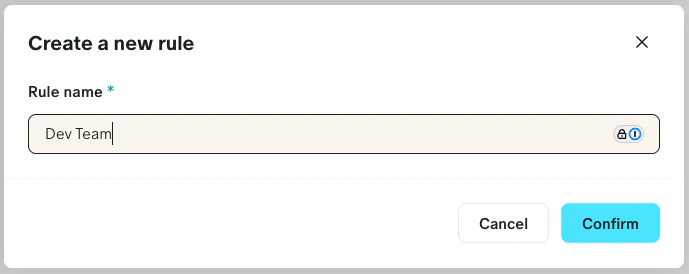
Create new rules (optional)
- Click Create a new rule.
- Enter a name for the rule (e.g., Dev Team).
- Define the targeting conditions under Targeted employees (for example: Team is Development).
- Save your rule.
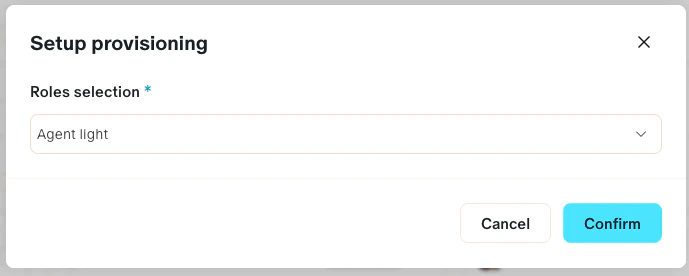
Enable provisioning for an application

- Open the rule you want to use.
- Go to the Apps tab.
- Select the application you have already connected (e.g., Zendesk).
- Toggle Provisioning to enable it.
- Under Roles selection, choose the role you want to assign to the targeted employees.
- Create or edit the Dev Team rule.
- Define targeting: Team is Development.
- Select Apps > Zendesk.
- Enable Provisioning and assign the role Light agent.
Result
Once provisioning is enabled and saved:- Users matching the rule’s targeting conditions are automatically created in the application if they are not already present.
- Assigned roles (e.g., Zendesk Light agent) are applied automatically.
- Any changes to users in the HR system will be synchronized with the application through Primo.