Automated SaaS mapping
If you are using Google Workspace, you can connect it in Identities & Access. It will automatically map all the applications for which your Google Workspace is used as a SSO connector.![Screenshot: [upcoming] Automated Saas Mapping](https://mintcdn.com/primo/M52jFKL1z91RDxpB/images/notion-import/connect-your-apps__img-086__block-0005__27343d9f.png?fit=max&auto=format&n=M52jFKL1z91RDxpB&q=85&s=68cdeec71977d6e51ed8036b7425254e)
![Screenshot: [upcoming] Automated Saas Mapping](https://mintcdn.com/primo/M52jFKL1z91RDxpB/images/notion-import/connect-your-apps__img-087__block-0007__27343d9f.png?fit=max&auto=format&n=M52jFKL1z91RDxpB&q=85&s=139dc8c1756e6dd0b551a1fdc84a93b2)
Access the Apps catalog
- Sign in to the Primo cockpit.
- From the navigation menu, go to SaaS.
- Select Identities and Add a SaaS
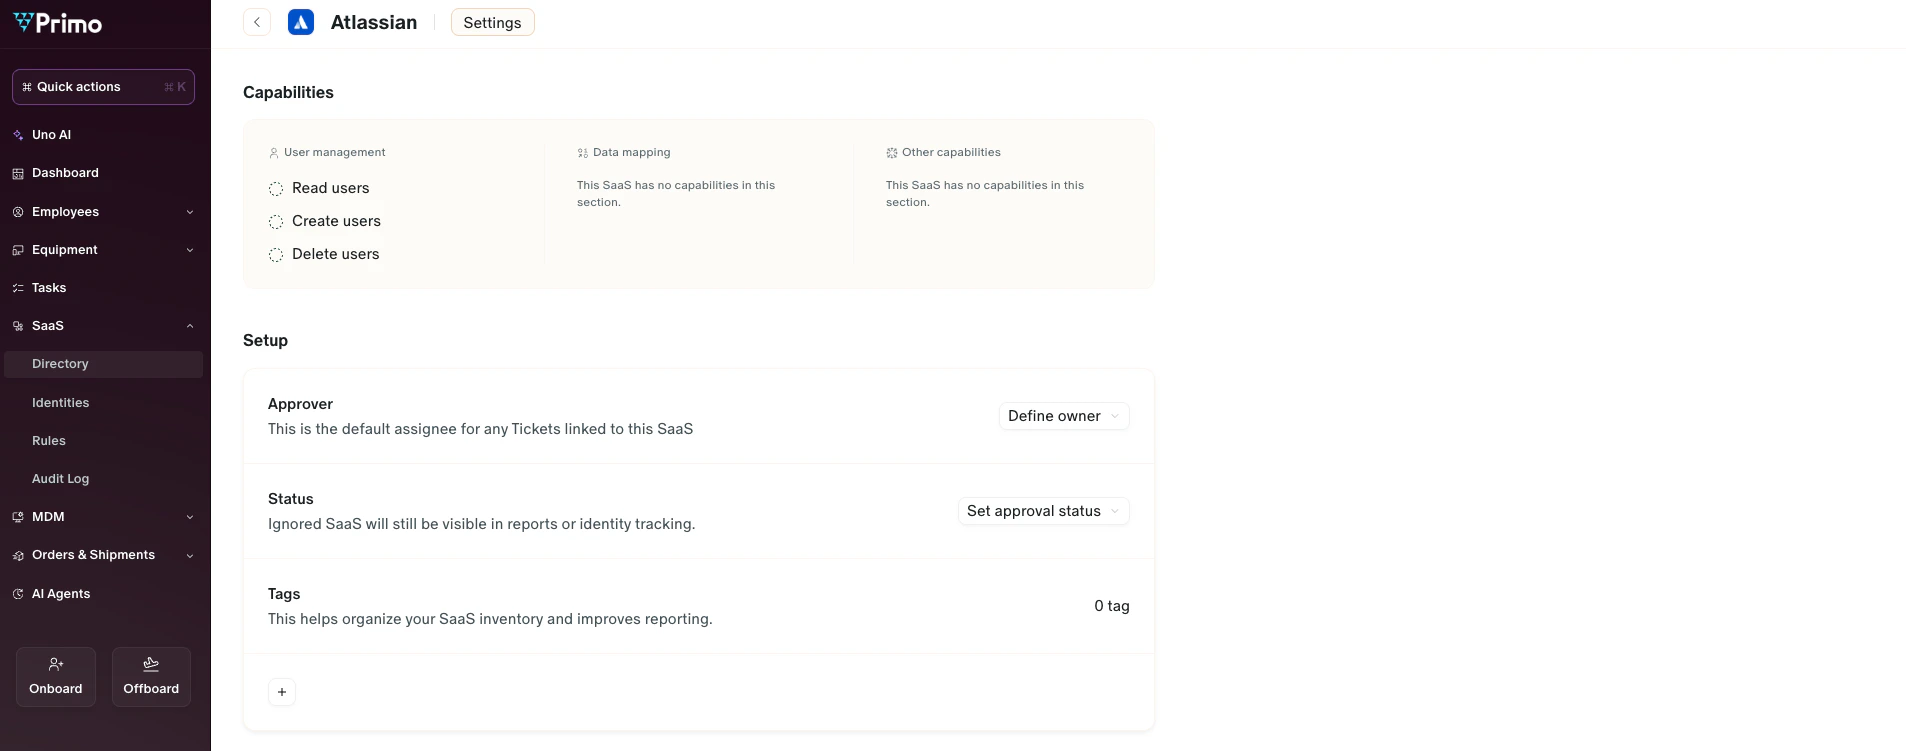
Select and configure the application
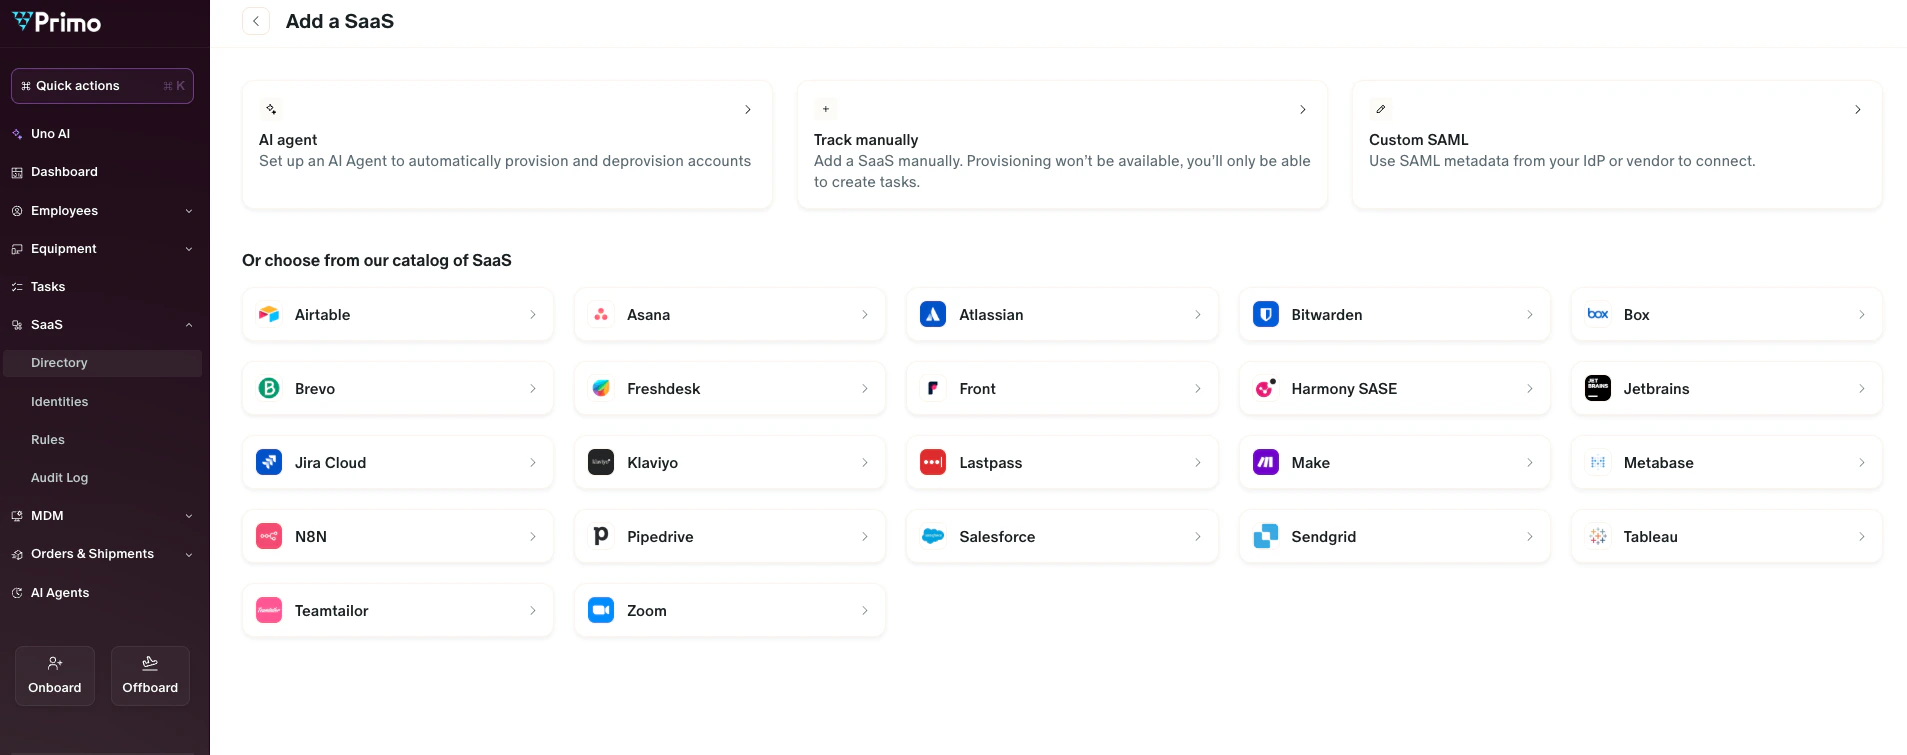
- Locate the application you want to connect.
- Click on the application to open its configuration page.
- Follow the step-by-step instructions provided.
- Single Sign-On (SSO): You may need to provide metadata or certificates to establish trust with the application.
- SCIM provisioning: You may need to enter API credentials to allow automatic user account creation and updates.
- API-based integrations: Some applications require you to generate and input API keys.